Before You Start
Zoom is normally set up for human voice talking. When you play piano, Zoom thinks the piano is background noise and turns the sound down.
Changing these 2 quick settings stops Zoom from muting your instrument so your teacher hears every note clearly!
Book a Free Trial Lesson
Step 1
Turn On "Original Sound for Musicians"
This is the most important step. It tells Zoom to let your piano sound pass through naturally.
- On a Computer (Mac or PC): Open Zoom → Click Settings (gear icon) → Click Audio → Select Original Sound for Musicians.
- On an iPad, iPhone, or Tablet: Open the Zoom App → Tap Settings → Tap Meetings → Turn ON Use Original Audio.
- During Your Lesson: Look at the top-left corner of your screen and click "Original Sound for Musicians: ON".
 Step 2
Place Your Phone, Tablet, or Laptop
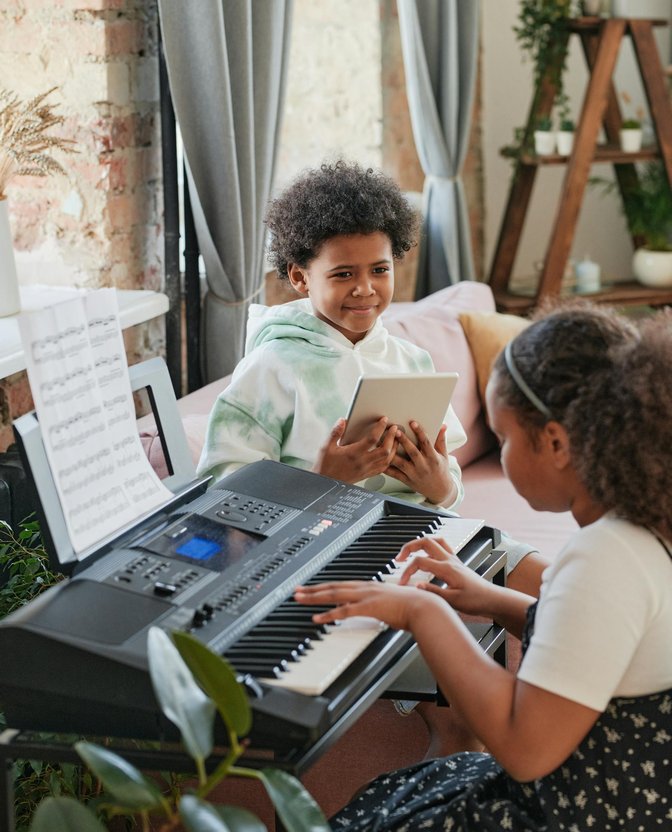
You do not need any fancy equipment or stands. Place your device on a chair, table, or music stand next to your keyboard.
- Position to the Side: Place your device slightly to your right or left side (about 3 to 4 feet away).
- Check What Is Visible: Make sure the camera sees your hands, the piano keys, and your profile.
- Height: Set the camera slightly higher than the keys so finger posture is easy to see.
 Step 3
Optional Gear for Extra Comfort
You can start your first lesson using just your built-in microphone and speakers. If you want to upgrade later, here is what helps:
- Headphones: Basic earbuds or headphones help you hear your teacher clearly while playing.
- USB Microphone: A simple plug-in microphone makes your piano sound even richer.
Ready to Try Your First Lesson?
We will check your camera and sound together during your free 1-on-1 trial lesson. No stress!
Book a Free Trial Lesson